This page explains how to install and configure Sigasi Visual HDL (SVH).
Requirements
VS Code Version
The extension requires VS Code or VS Codium version 1.77.0 or higher.
Installation
You can install the extension from the VS Code marketplace .
To install the extension from VS Code, open the Extensions pane using Ctrl+Shift+X. In the Search field on top, type Sigasi. Click the Sigasi extension and click Install.
You can also download the self-contained VSIX file directly. Go to the SVH extension marketplace webpage , and on the right panel under Resources, click on Download Extension. This will give you the option to download the Windows x64 or the Linux x64 VSIX.
If you’re working on a remote host for your HDL development, the extension only needs to be installed on the remote.
Licensing
More details can be found here. Your license unlocks the features for your edition.
Updating
VS Code supports automatic extension updates.
Since VS Code version 1.85, fine-grained control about which extensions to auto-update is available.
If your Extensions: Auto Update setting is set to _Selected Extensions, you can right-click the Sigasi extension in the Extensions pane and select the Auto Update option. Doing so ensures that your Sigasi extension will be updated even when other extensions are not auto-updating.
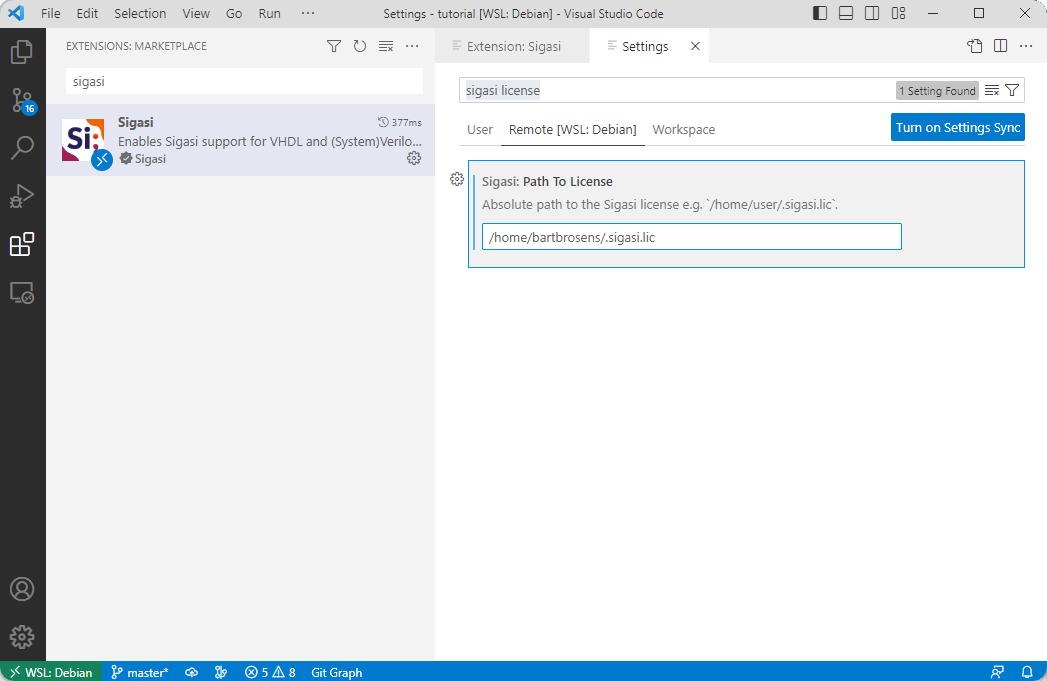
Settings
You can reach the settings for the Sigasi extension as follows.
- Open the Command Palette using Ctrl+Shift+P
- Start typing and select Preferences: Open Settings (UI)
- In the Search field on top, type Sigasi.
- First, configure the Path To License. It can be a local node-locked license file or a floating license server, e.g.,
27000@myserver.example.com. - Optionally, configure the JRE location in Sigasi > Java: Path. Make sure to add the
javaexecutable name to the configured value.
Alternatively, you can access the Sigasi extension settings through the Manage icon () in the extensions overview.
Talkback and Telemetry
You can help improve the Sigasi extension for VS Code by enabling automatic submission of usage statistics and error stack traces through Talkback and telemetry. More information about these features is available on the Talkback manual page.
Talkback is disabled by default.
To enable Talkback in the VS Code extension, open the settings and enable the Sigasi: Enable Talkback option.
The messages sent to Sigasi are logged locally. You can view these messages using the Sigasi: Open Talkback Log Folder command.
On Disk Caching
Disk caching is enabled by default in the Sigasi extension for VS Code. We recommend leaving it enabled as the cache will significantly speed up the extension by preserving the state from an earlier moment.
However, if you’d like to disable it, you can turn off the setting Sigasi > Server > Caching: Enable On-Disk Caching.